 Program development > C# > Content
C# Winforms Resources add, modify and delete
When developing a Windows application, you can import images and icons into the Resource and package them together with the application into an exe file, so that others cannot get the images and icons used in the program, and at the same time reduce the number of files.
There are usually two ways to import a file into a resource file. One is to import the background image into the control, which can be imported in the properties; the other is like the icon of an exe file, but it cannot be imported directly. You need to import the image into the resource file before referencing it.
I. Add an image into Winforms Resources with control in C#
1. Select the control(such as button), open the "Properties" dialog box, and find Image, as shown in Figure 1:

Figure 1
2. Click the button on the right of Image, open the dialog box as shown in Figure 2:
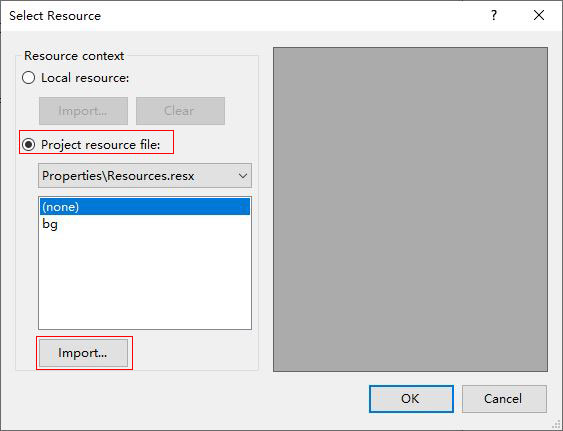
Figure 2
3. Click "Import", locate the folder where the background image is located, select the background image, click "OK", the background of control button is the selected image, and it is also imported into the Resource, if other controls are also needed, select it in the "Select Resource" dialog box(Figure 2).
II. Add an icon into Winforms resources in C#
1. Right-click the project, select "Properties", select "Resources" in the dialog box that has been opened, click "Add Resource", and select "Add Existing File", as shown in Figure 3:
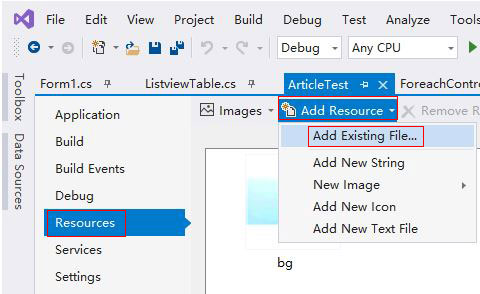
Figure 3
2. Locate the folder where the icon is located, double-click the icon to be added, and the selected icon will be added to the Resource, as shown in Figure 4:
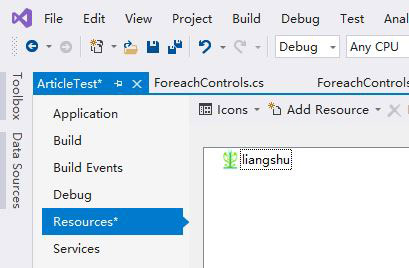
Figure 4
3. Select "Application", and then select the drop-down list box under "Icon", as shown in Figure 5:
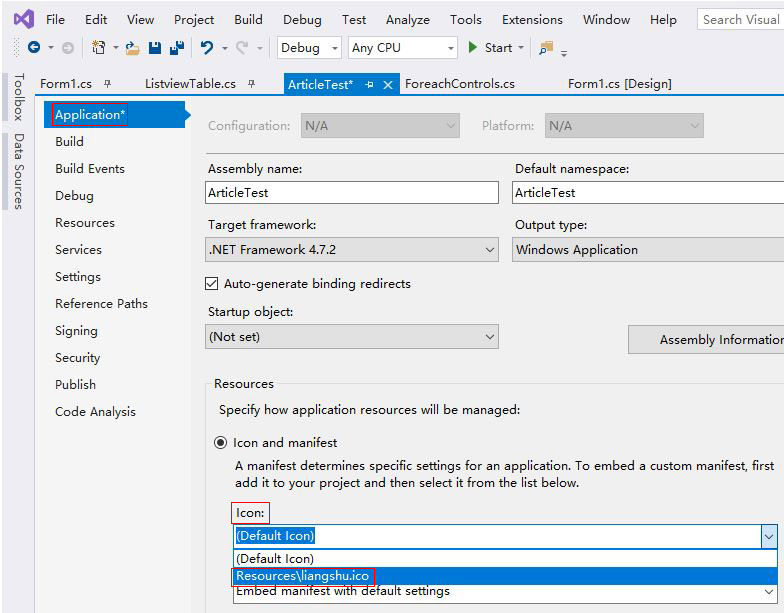
Figure 5
4. Select the icon just added to the Resource and save it. After generation, the icon of exe file is the selected icon.
III. Winforms Resources modify and delete in C#
1. If the images are deleted in the Resources directory, an error will be reported when the exe file is generated or executed. At this time, just open the Resource and delete the deleted images.
2. You can either right-click the project and select "Properties → Resources"(Figure 3), or open the Properties/Resources.resx file, select the deleted images, and click "Remove Resource".
3. At this time, the generated exe file will still report an error, double-click the error to open the error file(usually the Designer.cs file), and remove the control that references the removed image, such as this.button1.Image = global::winform.Properties. Resources.btn_bg;
4. There will be no error when regenerating it. Of course, if you delete the image in the Resources directory by mistake and copy another one in, there will be no error.
-
Related Reading
- C# Read and write to text file Newline, with one lin
- C# merge binary array(byte array)
- C# Winform button transparent background with proper
- C# float, double range, precision, definition and ty
- C# efficiency comparison of multiple strings concate
- C# date format and examples, with binding and ToStri
- Bubble sort algorithm example in C# and C (Ascending
- C# Hashtable create, add, update, remove and removed
- C# judge whether cookies are disabled on the client
- C# remove first or last character from string
- C# get url, domain, absolute, relative and physical
- C# if else vs switch, which efficiency is high(multi