 Program development > Content
Change Visual Studio default encoding and how to display advanced save options without it in files
Visual Studio default encoding format is UTF-8, but it has built-in encoding formats for various languages, which can be selected according to your needs. Generally, UTF-8 can be kept, because programs are usually written in English, so compatibility is better. It runs in most language systems and does not cause exceptions because they can be identified.
you set the default encoding format in the "Advanced Save Options" dialog box in Visual Studio, it can be opened through the "File" menu; but sometimes, it does not show "Advanced Save Options" in the "File" menu and is displayed.
I, How to display the "Advanced Save Options" in "File" menu without it in Visual Studio
Click "Tools", select "Customize" in the pop-up menu to open the "Customize" dialog box; select the "Commands" tab, click the drop-down list box to the right of the "Menu bar", and select "File" from the pop-up options; Click "Add Command", in the dialog box that opens, select "File" in the left list box, select "Advanced Save Options" in the right list box; click "OK", it is added to the" File "menu. The operation steps are shown in Figure 1:
Figure 1
II, Change Visual Studio default encoding to UTF-8
1. Click "File", select "Advanced Save Options" in the pop-up menu, as shown in Figure 2:
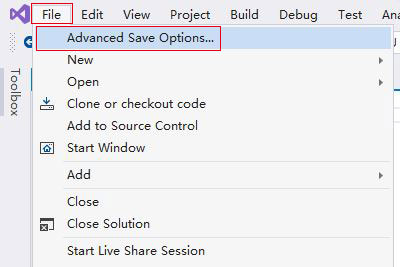
Figure 2
2. Open the "Advanced Save Options" dialog box, and the currently set encoding is "US-ASCII - Codepage 20127", as shown in Figure 3:
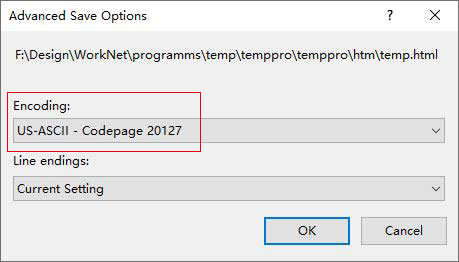
Figure 3
3. Click the "Encoding" drop-down list box, drag the scroll bar to the top, and select "Unicode (UTF-8 with signature) - Codepage 65001", as shown in Figure 4:
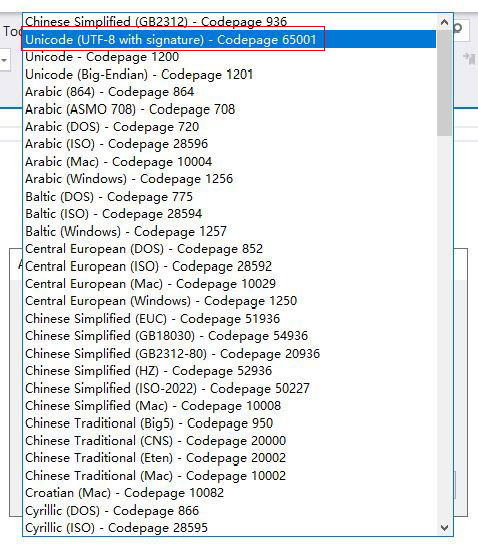
Figure 4
4. Click the "OK", then Visual Studio sets the default encoding format to UTF-8.
-
Related Reading