
C# 画 Winform Panel边框的两种方法(ControlPaint.DrawBorder,虚线、颜色和样式)
在 Web 开发中,一般用 div 布局,而在 Winform 中,Panel控件就像 div 一样,也是用来布局界面。Winform 中的控件默认边框都不是十分美观,如果想设计漂亮的界面,可以重绘控件的边框,通常重绘得比较多的是 Panel 的边框,所以文章将以重绘 Panel边框为例说明重绘Winform控件边框的方法。
在 C# 中,重绘 Winform Panel边框,既可以覆盖原来的边框,也可以保留再画出一条边框形成凹凸效果。重绘所用的类和方法为 ControlPaint.DrawBorder,有两种重绘方法,下面分别介绍。
一、Winform Panel边框方法一:每边能设置不同的颜色、宽度和样式
1、拖一个 Panel控件到主窗体中,保持默认名称 panel1,BorderStyle 选择 Fixed3D。
2、双击 Panel1,打开后台代码文件,在 panel1_Paint(object sender, PaintEventArgs e) 方法中添加如下代码:
private void panel1_Paint(object sender, PaintEventArgs e)
{
ControlPaint.DrawBorder(e.Graphics, panel1.ClientRectangle,
Color.White, 1, ButtonBorderStyle.Solid, //左边
Color.White, 1, ButtonBorderStyle.Solid, //上边
Color.DimGray, 1, ButtonBorderStyle.Solid, //右边
Color.DimGray, 1, ButtonBorderStyle.Solid);//底边
}
每边共有三个参数,分别为:边框颜色、宽度和样式;如果把 1 改为 0,则覆盖原来的边框,否则颜色搭配得当将出现凹凸边框效果,示例运行效果如图1所示:
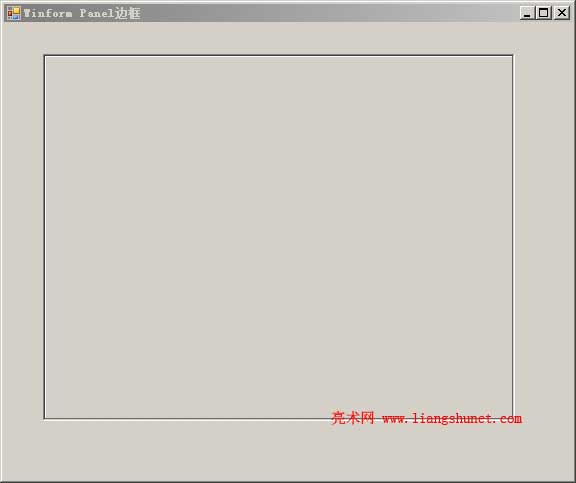
图1
如果 BorderStyle 选择 None,则又是另外一种效果(边框内突起)。
二、Winform Panel边框方法二:每边样式一样
步骤跟方法一一样,只是在 panel1_Paint(object sender, PaintEventArgs e) 方法中添加如下代码:
private void panel1_Paint(object sender, PaintEventArgs e)
{
ControlPaint.DrawBorder(e.Graphics, ClientRectangle, Color.Ivory, ButtonBorderStyle.Solid);
}
每边都设置为同一风格,即相同的颜色、宽度和样式。
三、Winform Panel 画虚线边框,并设置边框颜色和宽度
在画 Panel 虚线边框前,需要把它的边框样式 BorderStyle 设置为 None。
1、方法一
private void Panel1_Paint(object sender, PaintEventArgs e)
{
ControlPaint.DrawBorder(e.Graphics, panel1.ClientRectangle,
Color.Black, 1, ButtonBorderStyle.Dotted, //左边
Color.Black, 1, ButtonBorderStyle.Dotted, //上边
Color.Black, 1, ButtonBorderStyle.Dotted, //右边
Color.Black, 1, ButtonBorderStyle.Dotted);//底边
}
代码中,1 表示虚线的宽度,还可以设置为 2、3、……;Color.Black 表示把虚线设置为黑色;Dotted 表示虚线样式,还可以设置为 Dashed。效果如图2所示:

图2
2、方法二
private void Panel1_Paint(object sender, PaintEventArgs e)
{
Panel pan = (Panel)sender;
float width = (float)4.0;
Pen pen = new Pen(SystemColors.ControlDark, width);
pen.DashStyle = DashStyle.Dot;
e.Graphics.DrawLine(pen, 0, 0, 0, pan.Height - 0);
e.Graphics.DrawLine(pen, 0, 0, pan.Width - 0, 0);
e.Graphics.DrawLine(pen, pan.Width - 1, pan.Height - 1, 0, pan.Height - 1);
e.Graphics.DrawLine(pen, pan.Width - 1, pan.Height - 1, pan.Width - 1, 0);
}
代码中,变量 width 为要画虚线的宽度,它的值为 4;SystemColors.ControlDark 表示三维元素的阴影颜色;Dot 表示虚线样式,当前设置的效果如图3所示:
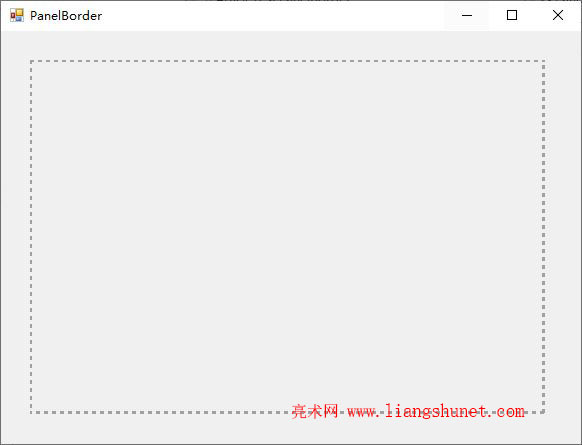
图3
线条样式(DashStyle)共有六种,分别为:
Solid:指实线边框。
Dash:指定包含短划线的行。
DashDot:指定包含重复的点划线图案的行。
DashDotDot:指定包含重复的短划线-点点图案的行。
Dot:指定由点构成的行。
Custom:指定用户定义自定义的短划线样式。
设置边框颜色:
Panel pan = (Panel)sender;
float width = (float)4.0;
Color color = Color.Green;
Pen pen = new Pen(color, width);
四、Winform Panel 样式设置
在 Winform 中,Panel 边框样式有三种,分别为 None、FixedSingle 和 Fixed3D,None 表示不设置边框,FixedSingle 表示单线边框,Fixed3D 表示三维边框。设置它们的方法有两种,一种为在属性窗口中设置,另一种用代码设置,方法如下:
1、方法一。右键 Panel,然后选择“属性”,打开“属性”窗口,找到 BorderStyle,选择一样式即可。
2、方法二。双击 Panel,把以下代码
this.panel1.BorderStyle = System.Windows.Forms.BorderStyle.Fixed3D;
复制到
private void Panel1_Paint(object sender, PaintEventArgs e)
{
}
-
相关阅读