
How to change margins in Word, with 1 inch, different first page, odd and even pages margins
Margin refers to the distance between the edge of paper and content in Word. Every time a Word document is created, the margins are set by default, that is, the white space between the content and side, including left and right margins and top and bottom margins. If you feel that the default margins in Word do not meet the requirements, you can fix them separately.
Remember that the setting margins in Word 2003 is in the File menu, but from Word 2007 to Word 2019, the position has changed, and their setting margins have been adjusted to the Layout tab. Although Office has been upgraded to 2019, there are still many users who are still using Office 2003, so the methods of setting margins in Word 2019 and Word 2003 will be introduced. The setting methods of Word 2007, 2010, 2013 and 2016 are similar to Word 2019.
I. How to show margins in Word (i.e. how to turn on margins in Word)
Right-click any blank space in the Ribbon, select Customize the Ribbon in the pop-up menu, open the Word Options dialog box, select Advanced on the left, and pull down the scroll bar on the right until you see Show document content, Check Show crop marks and click OK, then the margins are displayed. The operation steps are shown in Figure 1:
Figure 1
II. How to change margins in Word, i.e. how to set margins in Word (applicable to Word 2007-2019)
(1) How to set 1 inch margins Word (how to customize margins in Word)
1. Open or create a new Word document, select the Layout tab, and click the Diagonal arrow to the right of Page Setup, open the Page Setup dialog box.
2. You can set the left and right and top and bottom margins. They all have default values. For example, the top and bottom margins are 1 inch, and the left and right margins are 1.25 inch. They can be adjusted and modified at will, either by directly inputting the value, or clicking the upper and lower black arrow to modify. For example, change the left and right margins to 1 inch. It is worth noting that if you want to print, the entered value must meet certain specifications, otherwise the printout may be messy.
3. Apply to keep the default Whole document; after setting, click OK to make the setting effective. The operation steps are shown in Figure 2:
Figure 2
(2) How to set different first page margins Word
1. Section. The first page is divided into the first section, and the other pages are divided into the second section. Position the cursor on the last line of the first page, select the Layout tab, click Breaks, and select Next Page under Section Breaks in the pop-up menu, then insert a section break at the end of the first page.
2. Change margins. The operation is the same as above. When changing, pay attention to positioning the cursor to the first page. After changing the margins, the margins of the first page are different on other pages. The demonstration is shown in Figure 3:
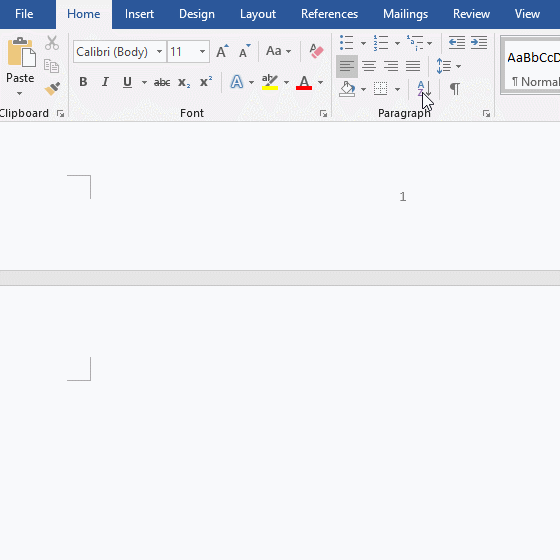
Figure 3
(3) How to set different margins on second page in Word
1. Section. The first page is divided into the first section, the second page is divided into the second section, and the other pages are divided into the third section.
1) Insert a section break at the end of the first page. Position the cursor on the last line of the first page, select the Layout tab, click Breaks, select Next Page under Section Breaks in the pop-up menu, then insert a section break at the end of the first page.
2) Insert a section break at the end of the second page. Position the cursor on the last line of the second page, click Breaks, and then select Next Page under Section Breaks to insert a section break at the end of of the second page. This divides the document into three sections, each of which can be set with different margins.
2. Set margins. The operation is the same as above. When setting, pay attention to positioning the cursor to the second page. After setting the margins, the margins of the second page are different for other pages. The demonstration is shown in Figure 4:
Figure 4
(4) Changing margins in Word for odd and even pages
1. Set all pages to odd page margins. See Figure 1 for the setting method. Print the odd pages first when printing. The method is: select File, click Print on the left to switch to the Print page; click Print All Pages under Settings, and select Only Print Odd Pages. The demonstration is shown in Figure 5:
Figure 5
2. After Printing the odd pages, set all pages to the margins of even pages, and only print even pages when printing.
(5) How do you set different margins per page in Word
To achieve this goal, you need to divide each page into an independent section, and then set a margin for each section, as shown in Figure 3. It can be set like this if there are few pages, and it can only be realized by VBA if there are more pages.
III. How to adjust margins in Word 2003
1. Open the document to be set, or create a new blank document. Select File menu → Page Setup in turn, open the Page Setup dialog box.
2. Enter the required values ??for the top, bottom, left and right margins; if you want to print, the values ??must conform to the specifications of paper, otherwise, it may be messy after printing, or some content may not be printed on the paper.
3. After setting, click OK. The setting steps can also refer to the setting method of Word 2019.
IV. My word document margins are messed up, How to recover?
Select Layout tab, and click the Diagonal Arrow to the right of Page Setup, open the Page Setup dialog box. Click the Apply to drop-down list box, select Whole document in the pop-up options; enter 1 for the left and right margins, enter 1.25 for the top and bottom margins, and click OK, then the margins of all pages are unified as the set value. The operation steps are shown in Figure 6:
Figure 6
-
Related Reading
- Css page margin not working, with top, bottom, left,
- How to delete table lines in Word (one line, remove
- How to add cross symbol and tick mark in Word, with
- Find ProPlusww.msi when opening Office(Word/Excel),
- How to set Header and footer in word(13 examples), i
- Word art transform text effect (Follow Path, Warp, A
- How to convert PowerPoint to word(4 examples), inclu
- Can't print from microsoft Word (6 possible reasons)
- Prevent programs from starting automatically in wind
- How to fix Microsoft Word has stopped working (sever
- How to make a table of contents in word and change,
- Mod operator and rounding off numbers in javascript