 operating system > Windows > Windows 7 > Content
How to install iso file(setup it in Windows 7, 8, 10 and XP)
The English full name of iso is Isolation, which is a compact disc image file. Because it can effectively compress the original file size(for example, Windows7 compresses into an iso file, which is only about 3GB and about 10GB after installation), it is widely used, especially some large-capacity software, so the installation files of operating system, databases, and large program development tools that we download are often iso type.
How to setup iso file? There are different installation methods for different operating systems. Windows 10 and above systems can be installed directly because they already support decompression of iso files, but Windows 10 and below systems(Windows 7, Windows 8 and XP) do not support it. How to install iso file? There are three methods in summary: Unzip installation; Virtual CD-ROM installation; Burn to disc.
I, Direct installation
Windows 10 or above, double-click the iso file, it will automatically expand, double-click the installation file(setup.exe) inside, and follow the wizard to install.
II, Decompression installation
The iso file is a compression format, which can be decompressed with Winrar software like a rar compression package. After decompression, double-click setup.exe to run the installation.
Decompression method:
1. Right-click the iso file to be decompressed, select "Extract Here", as shown in Figure 1:
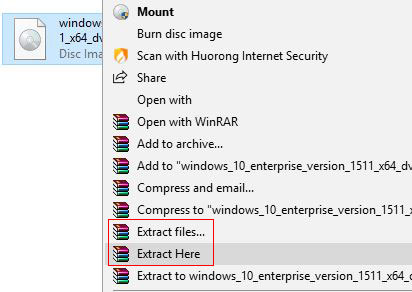
Figure 1
Start decompressing, it is worth noting that the remaining space of the current disk must be able to hold the decompressed files.
2. if the current disk space is not enough, you can select "Extract files" in Figure 1, open the window shown in Figure 2:
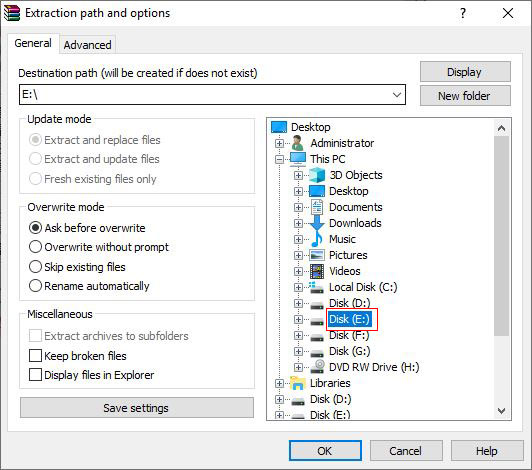
Figure 2
Choose a disk with sufficient space(such as selecting E disk), click "OK" to start decompressing to the selected disk.
III, How to install iso file with virtual CD-ROM drive
Install iso file with the methods introduced above, although it is very simple, if the iso file is large, it will take a long time to extract(more than half an hour), and it will be troublesome to wait.
Iso, as a CD image file, can be run directly with a virtual CD-ROM drive. Just download a green version of the virtual CD-ROM drive and load it into the virtual CD-ROM drive to run. The non-green version must be installed before loading iso file; there are free and green versions of virtual CD-ROM drives on the Internet. It is recommended to find the green version first, and you should find.
Method of loading iso file:
1. Open a virtual CD-ROM drive, as shown in Figure 3:
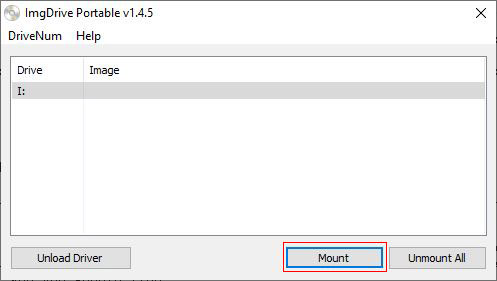
Figure 3
2. Click "Mount", Navigate to the folder where the iso file is located, as shown in Figure 4:
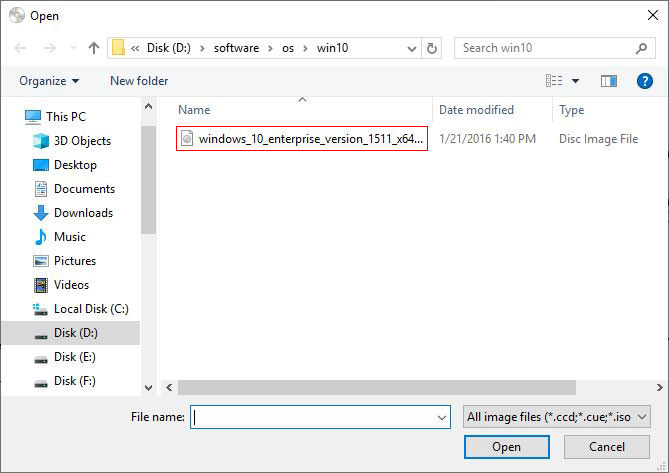
Figure 4
3. Double-click the iso file(such as windows_10_enterprise_version_1511_x64) to mount; right-click it, select "Browse" in the pop-up menu, as shown in Figure 5:
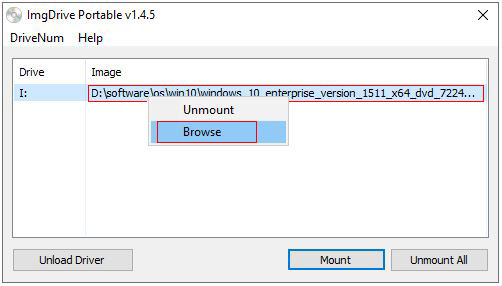
Figure 5
4. Double-click "setup" in the window that opens to start the installation, as shown in Figure 6:
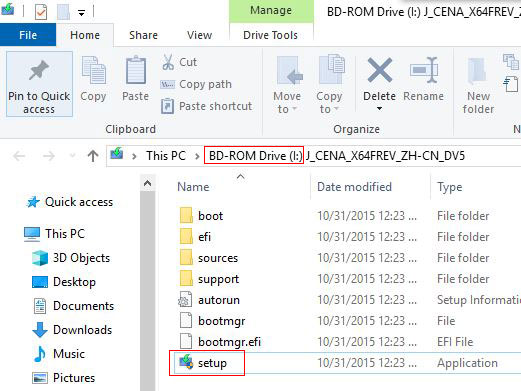
Figure 6
IV, Burn to disc
The three methods described above for how to install iso file are directly installed from the hard disk. If the system type is different, it may not be installed. You can burn it to a DVD and install it. In this way, there is no restriction on the installation, and you can also format the hard drive.
How to burn iso files to disc:
1. Double-click the iso file to be burned. If burning software is installed, it will be opened with burning software(such as Nero).
2. Click "Burn" to burn directly it to the disc, and you can install it.
Tip: Some users burn directly a complete iso file to the disc because they have not burned. The result is that the operating system cannot be installed. Because the bootloader in iso cannot run, burn the expanded file to the disc with the burning method introduced above, not an iso file.
-
Related Reading
- Internet Explorer 11/10/9 did not finish installing,
- Enable or disable Internet Explorer add ons and they
- Mozilla Firefox cache location and change it in Wind
- How to remove unwanted add ons from Internet Explore
- Internet Explorer has stopped working website restor
- C# Windows Forms foreach controls, with Textbox and
- Internet Explorer is currently running without add o
- How to solve an add on for this website failed to ru
- Internet Explorer not saving passwords, how to set I