
How to delete, insert and add rows, columns and cells in Word with shortcut keys and commands
The rows and columns of the table are composed of cells. Because of their similarity in position, they are very similar in deletion and insertion (addition). There are front, back, left, and right for a cell, and the same is true for one row and one column; when deleting a cell, the vacant position of the deleted cell must be supplemented by the adjacent cells. There is a question of which cell to move; similarly, when deleting a row or column, the deleted row or column must be supplemented by the adjacent one. There is also a problem of which row or column to move. The same is true for inserts.
Rows, columns and cells can be deleted and inserted with both commands and shortcut keys. You can operate only one row, one column or one cell, multiple rows, multiple columns, or multiple cells at a time.
I. How to delete and insert (add) cells in Word
(I) How to delete a single cell in Word
1. How to delete a cell in Word
Right-click the cell you want to delete, select Delete Cells in the pop-up menu, and open the Delete Cells dialog box. There are four options for you to choose. Two are cell movement, one is to delete the entire row, and the other is to delete the entire column, you can select according to the actual situation. We select Shift cells left, click OK, the selected cell is deleted, as shown in Figure 1:

Figure 1
Note: Select the Layout tab, and then click Delete → Delete Cells, you can also open the Delete Cells dialog box, as shown in Figure 2:
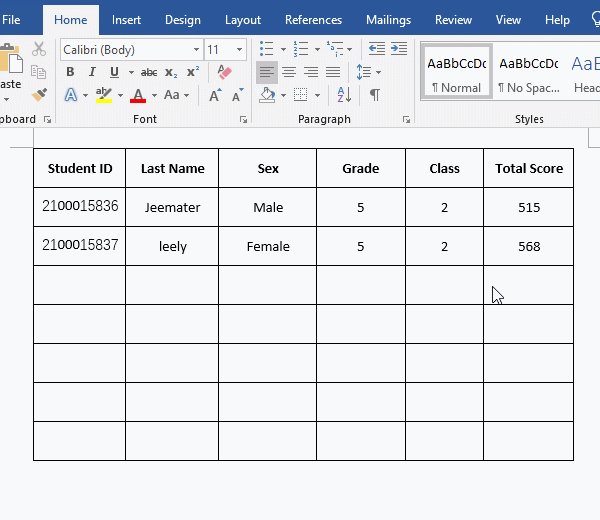
Figure 2
2. How to Delete Cells in Word
Select multiple cells you want to delete, for example, the first three cells in the fourth row, right-click them, select Delete Cells in the pop-up menu, open the Delete Cells dialog box, click OK, all the selected cells are deleted, and the demo is shown in Figure 3:

Figure 3
(II) How to Insert Cells in Word(i.e. how to add cells in Word table, how to add cells in Microsoft Word)
1. How to insert a cell in Word (i.e. how to insert a single cell in Word, how to add a cell in Word)
1) Right-click the position where you want to insert the cell, and select Insert → Insert Cells in the pop-up menu, open the Insert Cells small dialog box. To supplement the cell we just deleted, we select Shift cells right. After clicking OK, a cell is inserted, but it is not as long as the deleted cell, as shown in Figure 4:
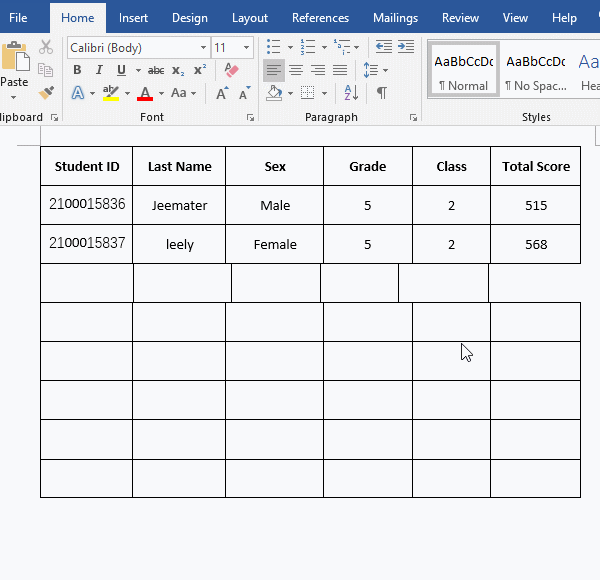
Figure 4
2) At this time, you can narrow the inserted cell, just move it to the left. The problem is that the following cells are not aligned with the column where they are located, so you need to adjust them one by one. When you reach the last column, you will find that no matter how you adjust it, it cannot be aligned with the right border of the table. It is either recessed or protruding a little. At this point, let's change our thinking. Instead of adjusting this cell, adjust the right border of the table. Once adjusted, it will be aligned. The demonstration is shown in Figure 5:
Figure 5
2. How to add more cells to a table in Word
If you want to insert a few cells, select a few where you want to insert, for example, select the first three cells in the fourth row, right-click them, select Insert → Insert Cells in the pop-up menu, and open Insert Cells small dialog box, select Shift cells right, click OK, then insert three cells at a time, the demonstration is shown in Figure 6:

Figure 6
3. Press F4 to Insert Cells in batches
Right-click the position where you want to insert the cell, select Insert → Insert Cells in the pop-up menu, open the Insert Cells small dialog box, select Shift cells right, click OK, and insert a cell. Press F4 on the keyboard, insert another cell, continue to press F4, continue to insert, the demonstration is shown in Figure 7:
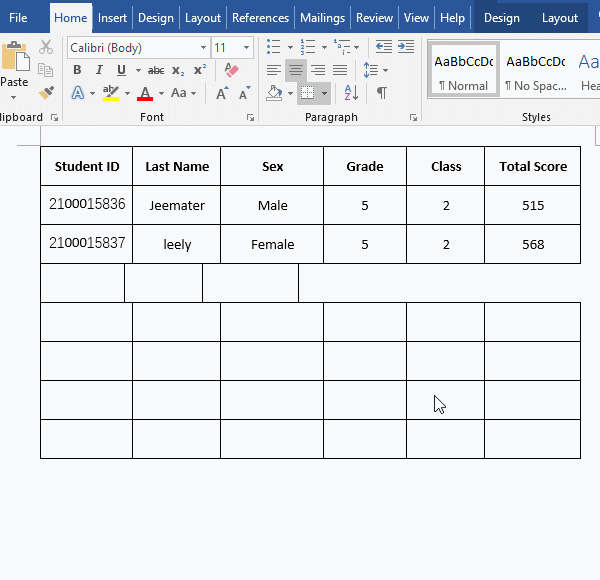
Figure 7
II. How to delete and insert rows in Word
(I) How to delete a row in Word (How to remove a row in Word)
1. Using Commands, how to delete a row from a table in Word
Click before the left border of the row you want to delete, select it, then right-click it, and select Delete Rows in the pop-up menu. The selected row will be deleted. There were five blank rows, but now there are four rows left. The demonstration is shown in Figure 8:

Figure 8
Note: Select the Layout tab, click Delete → Delete Rows, you can also delete. The demonstration is shown in Figure 9:
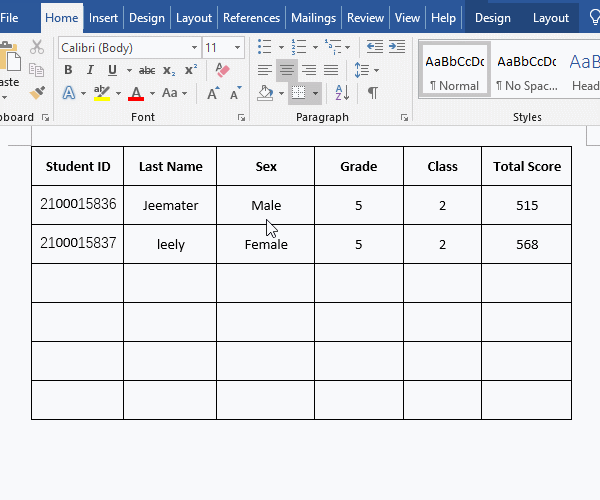
Figure 9
2. Using shortcut keys, how to delete a row in a table in Word
Click on the left side of the row you want to delete, select it, and press the shortcut key Ctrl + X on the keyboard, then the selected row will be deleted (cut). The demonstration is shown in Figure 10:
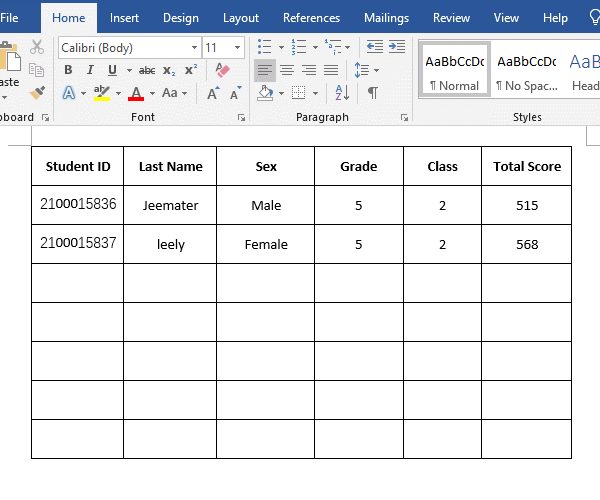
Figure 10
3. How to delete multiple empty rows in Word table (delete rows in batch)
Click on the left side of the row you want to delete, select it, hold down the left button of mouse and move down to select all rows you want to delete, right-click them, and select Delete Rows in the pop-up menu, then all the selected rows are deleted. The demonstration is shown in Figure 11:

Figure 11
Note: If you want to delete discontinuous rows, after selecting a row, hold down Ctrl on the keyboard, and continue to click the remaining rows you want to delete to select them.
(II) How to insert a row in Word
1. How to add a row to a table in Word (quickly insert a row)
Position the cursor to the end of the previous row of the row you want to insert, press Enter on your keyboard. For example, insert a row below the second row, position the cursor to the end of the second row, and press Enter on the keyboard to insert a row immediately. The inserted row is exactly the same height as the previous row. The demonstration is shown in Figure 12:
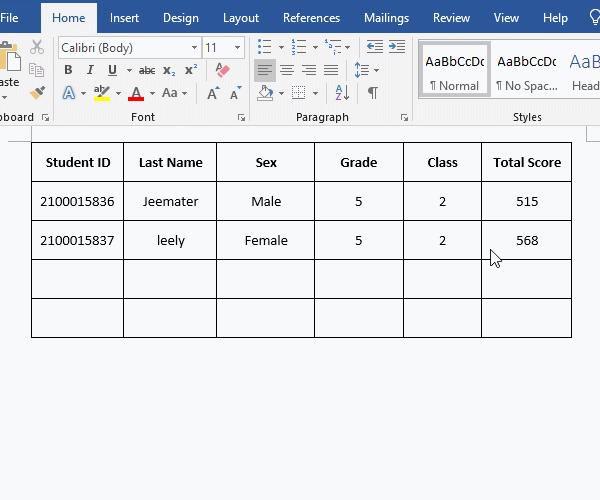
Figure 12
2. How to insert a row in Word flexibly
Right-click the position where you want to insert a row, and select Insert → Insert Rows Below from the pop-up menu to insert a row below the current row. Of course, you can also select to insert a row above it, which can be determined based on the actual situation. The demonstration is shown in Figure 13:
Figure 13
3. Using shortcut, how to insert a row in a table in Word
Click once on the cell where you want to insert a row to position the cursor there, and press the shortcut key Alt + A + I + A (or hold down Alt and press J, L, A respectively) on your keyboard to insert a row above the current row. The demonstration is shown in Figure 14:
Figure 14
Insert a row of shortcut keys below: Alt + J + L + B + E (hold Alt, press J, L, B, E respectively).
4. How to add rows in Word (How to add more rows to a table in Word)
If you want to insert how many rows at a time, click on the left side of the starting row of the rows you want to insert, select it, hold down the left button of mouse, move down until you select the number of rows you want to insert, select them, right-click them, select Insert → Insert Rows Below in turn in the pop-up menu to insert multiple rows below the current row. The demonstration is shown in Figure 15:

Figure 15
Note: After inserting a row, press F4 on your keyboard to continue inserting rows.
III. How to insert and delete columns in Word
(I) How to remove columns in Word
1. Using commands, how to delete a column in Word
The way is the same as deleting rows. Move the Pointer to the top border of the column you want to delete. When the mouse becomes A Bold Arrow Down, click once, select the column you want to delete, right-click them, and select Delete Columns in the pop-up menu, the selected column is deleted, and the demonstration is shown in Figure 16:

Figure 16
Note: You can also select the Layout tab and click Delete → Delete Columns.
2. Using shortcut keys, how to remove columns in Word
Move the mouse to the top border of the starting column of the columns you want to delete, when the Pointer becomes A Bold Arrow Down, click once to select it, hold down the left button of mouse and move it to the right, until all the columns you want to delete are selected, press the shortcut key Ctrl + X (or hold down Alt and press J, L, D, C respectively) on the keyborad, and they will be deleted. The demonstration is shown in Figure 17:
Figure 17
(II) How to insert columns in Word
1. Using commands, how to add a column to a table in Word
Right-click the position where you want to insert the column, and select Insert → Insert Columns to the Right from the pop-up menu to insert a column to the right of the current column, as shown in Figure 18:

Figure 18
Note: Select the Layout tab, position the cursor where you want to insert the column, and click Insert Left in the Rows & Columns group in the Ribbon. You can also insert a column to the left of the current column, the demo is shown in Figure 19:
Figure 19
2. Using shortcut keys, how to add columns in Word
Move the Pointer to the to border of the first column of the columns you want to insert, for example, on the top border of the third column. After the Pointer turns into A Bold Arrow Down, click to select it, while holding down the left button of mouse and moving toward right, until you select all the columns you want to insert, such as three columns, select them, hold down Alt on the keyboard, press J, L and R respectively on the keyboard, and then insert three columns to the right of the current column, the demo is shown in Figure 20:

Figure 20
3. How to quickly insert columns in Word
Move the Pointer to the point where the top border and vertical line meet on the table where you want to insert the column, A Plus In Circle Icon appears, click the Plus Sign (+), and a column is immediately inserted on the right side, as shown in Figure 21:

Figure 21
Note: This way can also be used to insert rows in Word.
-
Related Reading
- C# listview select row(a row and multiple rows)
- How to delete table lines in Word (one line, remove
- C# hashtable synchronized and SyncRoot(cost comparis
- How to move rows,columns,cells,table in excel(there
- How do I rotate a page 90 degrees in Word, with rota
- How to freeze panes in excel and split window(15 exa
- How to select, move, copy and remove a table in Word
- How to lock cells in excel, with shortcut, freeze ce
- Input text and Word can't type in table cell, select
- How to align tables in Word, with aligning text and
- C# Hashtable create, add, update, remove and removed
- How to split and merge tables in Word (5 ways), with