
How to adjust table in Word, with row height, column width, line spacing, fit text and beyond page
The height of table inserted in the Word document is too low by default, which requires further adjustment to get a beautiful table. Generally speaking, Word table adjustment items include table size; text space between top and bottom, left and right; row height; column width; automatic adjustment and moving table, etc. How to adjust table in Word?
I. How to adjust table size in Word
(I) Adjustment method
1. Move the mouse to the table, a small square will appear in the lower right corner of table, move the mouse to the small square, the mouse becomes an oblique double arrows, hold down the left button(the mouse becomes a cross shape) and drag, the table will become larger and smaller accordingly; when dragging to the row height and column width meet the requirements, release the left button, as shown in Figure 1:
Figure 1
(2) How to change table size in Word when it is beyond the page
When the table exceeds the page, select it, move the mouse to the right of page, the adjustment icon will not appear, column will be smaller one by one, and the last column will not automatically shrink back. Therefore, the method of pulling cannot be used to adjust, but you can use the following two methods:
Method 1: Adjust according to content
Click the table to make a small icon appear in the upper left corner of it, click the icon to select it, right-click anywhere on it, and select "AutoFit → AutoFit to Contents" in the pop-up menu, then the part that is beyond the page shrink back, the operation steps are shown in Figure 2:
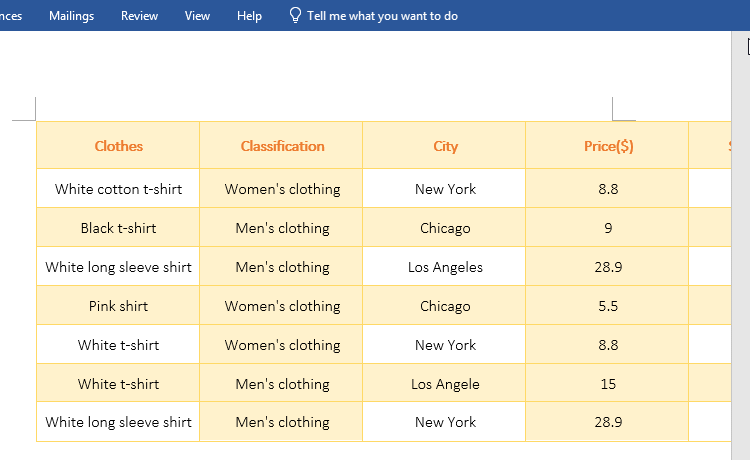
Figure 2
Method 2: Use row height to adjust
Move the mouse to the top of the third column, a black arrow pointing down appears, press left button of mouse and move the fifth column to select three columns, select the "Layout" tab, enter 0.8 to the right of "Width", press Enter, and set their column width to 2. The operation steps are shown in Figure 3:
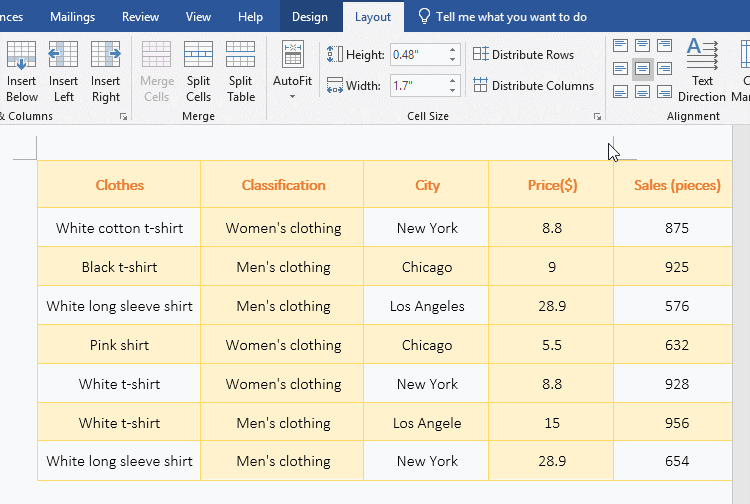
Figure 3
II. How to adjust the text space(Word table line spacing)
1. Left and right spacing: Generally, you can set the text to the center; for example, select all fields in the header, click the "center" icon in the common toolbar(or "Home" tab), and the selected fields will be centered.
2. Top and bottom spacing: just adjust the line spacing; for example, still select all fields in the header, click the "Line and Paragraph Spacing" icon in the "Paragraph" group("Home" tab), and select an appropriate value, such as 1.0, as shown in Figure 4:
Figure 4
The header field has been vertically centered. If it is not vertically centered, you can click "Paragraph Settings" icon in the "Paragraph" group, open Paragraph" dialog box, select "Multiple" for "Line Spacing", Input the appropriate value under "At", such as 0.9, click "OK"; as shown in Figure 5:

Figure 5
The default line spacing within a word table is "Single". If it cannot be adjusted, you can adjust the font size appropriately, because each font size has a default Line Spacing.
III. Several ways to adjust table row height in word
Method 1: Drag
Move the mouse to the lower horizontal line of row to be adjusted, after the mouse becomes a double short line with up and down arrows, hold down the left mouse button(a dotted line appears) and drag. When the height is right, release the left button; repeat the adjustment for other rows. As shown in Figure 6:
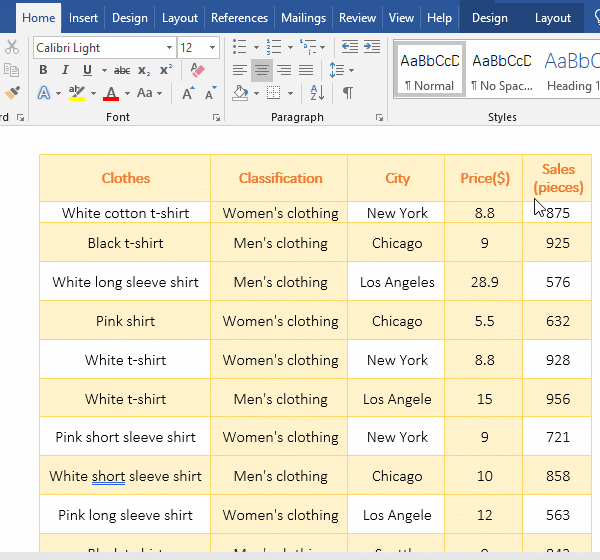
Figure 6
Method 2: Precise adjustment(Adjust multible table row height in Word)
Move the mouse to the left of the second row, press and hold the left button of mouse and move down, select the rows to be adjusted, such as the second to fourth rows, right-click on them, select "Table Properties" in the pop-up menu, select "Row" tab, click "Specify height" to check, enter the desired height value, such as 0.4 inch. As shown in Figure 7:
Figure 7
Method 3: Distribute Rows Evenly
Move mouse to table, click the icon left top of table to select the table, and right-click on it, select "Distribute Rows Evenly" in the pop-up menu, the high row is evenly distributed to all rows of table, that is, each row of table is the same height; this method needs to estimate in advance how much is pulled up, and then the appropriate row height can be got after averaging. As shown in Figure 8:
Figure 8
Tip: Each column can be averaged in the same way.
Method 4: Adjust the height of row
1) Adjust one row. Click on the left of the first row, select it, select the "Layout" tab, click the input box on the right of "Height", select the text in it, enter 0.4, press Enter, the first row will be adjusted to 0.4 inch, operation as shown in Figure 9:
Figure 9
2) Adjust multiple rows. Move mouse to the left of the third row, press and hold the left button of mouse and move down, select three rows, click arrow up on the right of "Height", press Enter, the third to fifth rows will be adjusted to 0.4 inch, operation as shown in Figure 10:
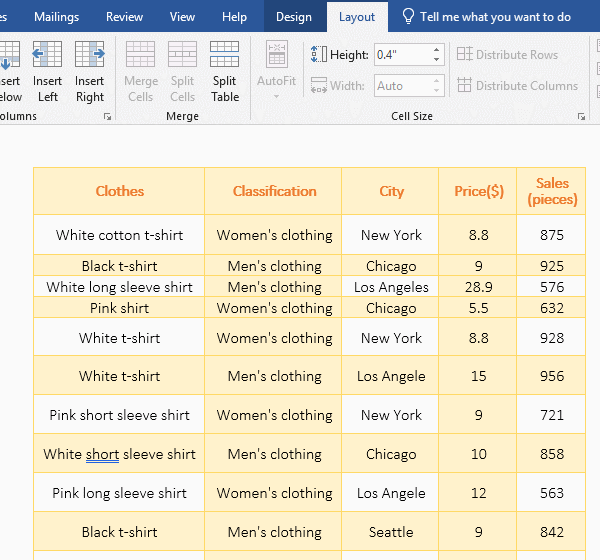
Figure 10
IV. Several ways of adjusting table columns in Word
Method 1: Drag
Move the mouse to the right of the first column, the mouse becomes a double vertical lines and arrows icon, hold down the left button and drag to the right until the column width is appropriate; adjust the second column in the same way. The operation is shown in Figure 11:
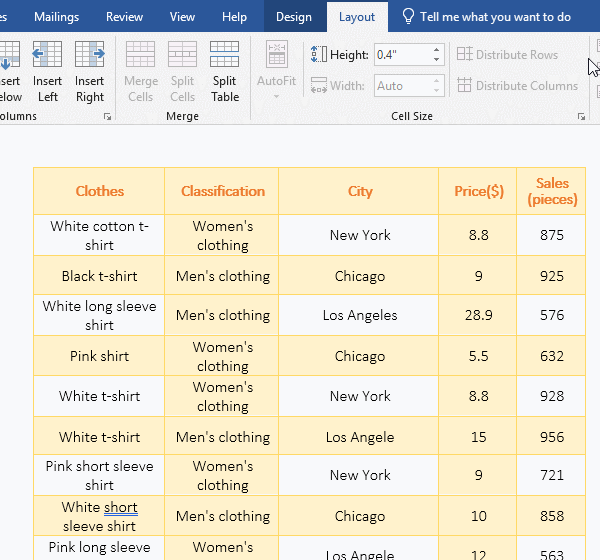
Figure 11
Method 2: Adjust the width
Move the mouse to the top of the second column, the mouse becomes a downward pointing arrow, click to select the second column, select the "Layout" tab, click the up arrow on the right of "Width" until the column width is appropriate. Click on the third column to select it, hold down the left button and move to the right, select three columns, enter 1 to the right of "Width", and press Enter to set the width of the three columns to 1 inch. The operation is shown in Figure 12:
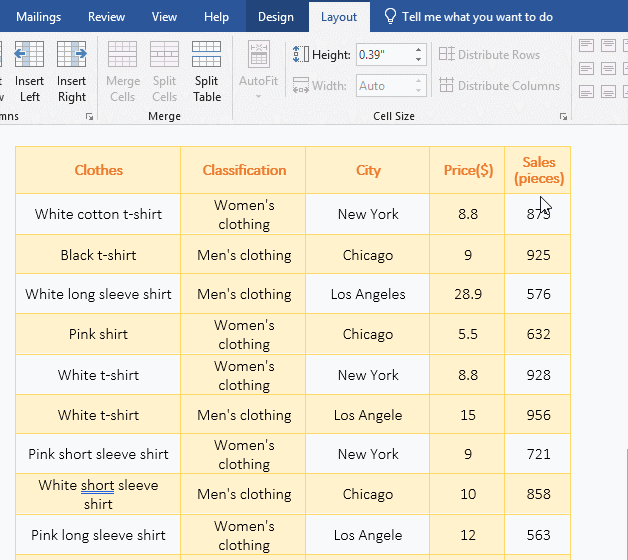
Figure 12
Method 3: Use table attributes to adjust
Right-click the column to be adjusted, such as the second column, select "Table Properties" in the pop-up menu, open the "Table Properties" dialog box, select the "Column" tab, change the "Preferred width" to 1.4 inch, and click "OK", the width of the second column is changed to 1.4 inch, the operation is shown in Figure 13:
Figure 13
Method 4: Distribute Columns Evenly
Select the last three columns, right-click them, and select "Distribute Columns Evenly" in the pop-up menu, then the three columns will be adjusted to a uniform width. The operation is shown in Figure 14:
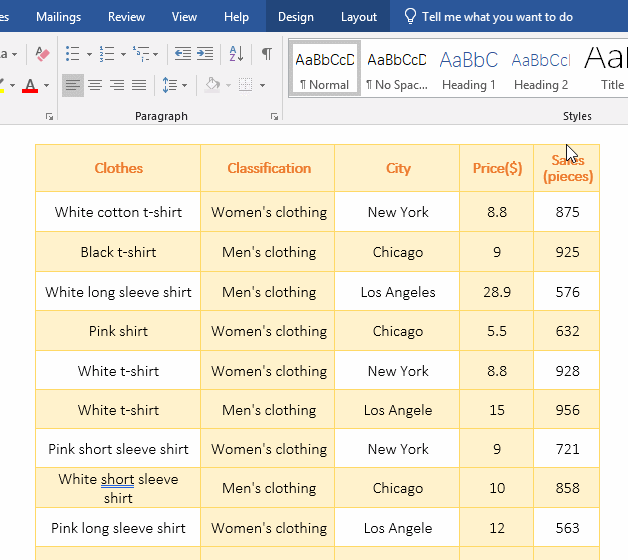
Figure 14
V. How to adjust table to fit text in Word(Automatically adjust table columns to fit text in Word)
Select table, right-click on it, select "AutoFit", there are three options, namely "AutoFit to Content, AutoFit to Window and Fixed Column Width", you can choose one freely, as shown in Figure 15:
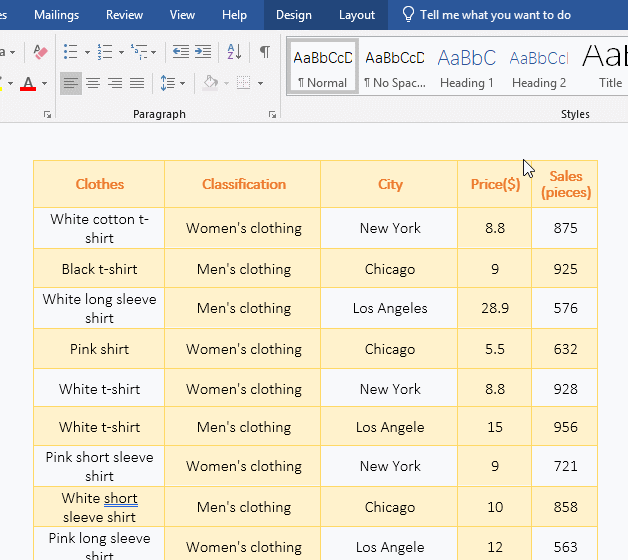
Figure 15
VI. How to move a table in word(such as how to move a table down in word)
Move the mouse to the table, and when the cross with arrows in the box appears in the upper left corner, move the mouse over it, the mouse will also change to a cross with arrows, hold down the left button of mouse and drag, move the table to the desired position and release it. As shown in Figure 16:
Figure 16
-
Related Reading
- How to add cross symbol and tick mark in Word, with
- Find ProPlusww.msi when opening Office(Word/Excel),
- How to set Header and footer in word(13 examples), i
- How to convert PowerPoint to word(4 examples), inclu
- Can't print from microsoft Word (6 possible reasons)
- How to make a table of contents in word and change,
- How to underline in word, with double, wave,long und
- How to delete a blank page in word(7 examples), incl
- How to start page numbers on page 3 and each section
- How to make a fraction in Word (type, input with sho
- How to adjust row height and change width of column
- How to convert word to excel(3 ways, with keeping co