
Word cell borders change color and shading remove (8 examples)
Although cells are the smallest component of a table, they can be set separately in Word, not to mention shading independently. Each side of the cell can be set with a different color and thickness, just like the outer borders of a table; In addition to selecting an existing style, you can also take the style of borders of another cell as the style of the current cell, and apply the formatting of other text to the current text just like a format painter. In addition to setting each border individually, you can also set all borders to the same style at once, just like the previous paragraph.
Shading is to set the background of the cell, which can be filled with color and pattern, just like that you set the shading for the paragraph described above
I. Word cell borders settingsWord cell borders settings
(1) Draw a line
1. Right-click in the cell you want to set (such as the first cell), select Border Styles in the pop-up menu, and select a style, such as Single Solid Line, 1 1/2 pt, Accent 1, at this time, the Pointer becomes the shape of a carving knife, move it to the upper left point of the first cell.
2. Hold down the Left Button and drag it to the right, the line dragged out ensures that it is on the same straight line, reach the upper right corner of the cell vertex and release the Left Button, the upper border of the cell has become a blue line. In the same way, the other two sides of the cell are set with different borders. The steps are shown in Figure 1:
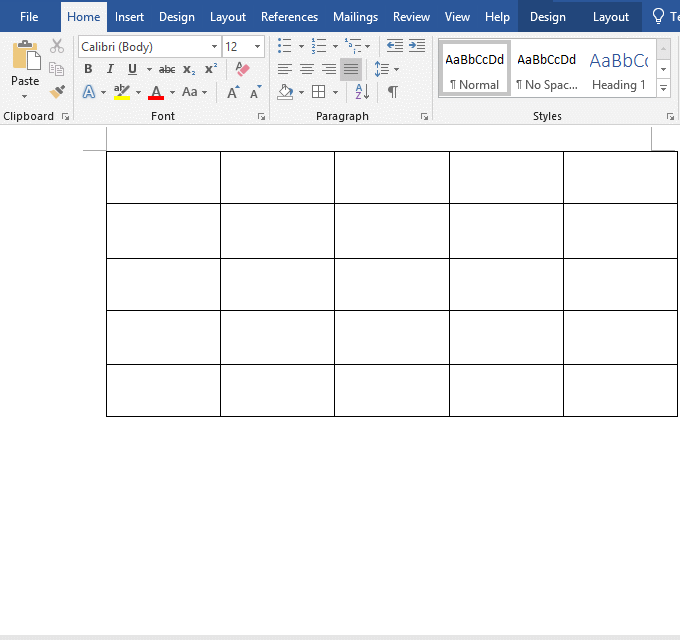
Figure 1
Use the Border Sampler to suck the styles of other borders
1. Right-click in a cell, select Border Sampler in the pop-up menu, the Pointer becomes the shape of a straw, click on the border you want to suck, for example, to suck the top border of the first cell, just click to the top border of it, and then draw a line to the right of the second cell in the first row, the steps are shown in Figure 2:
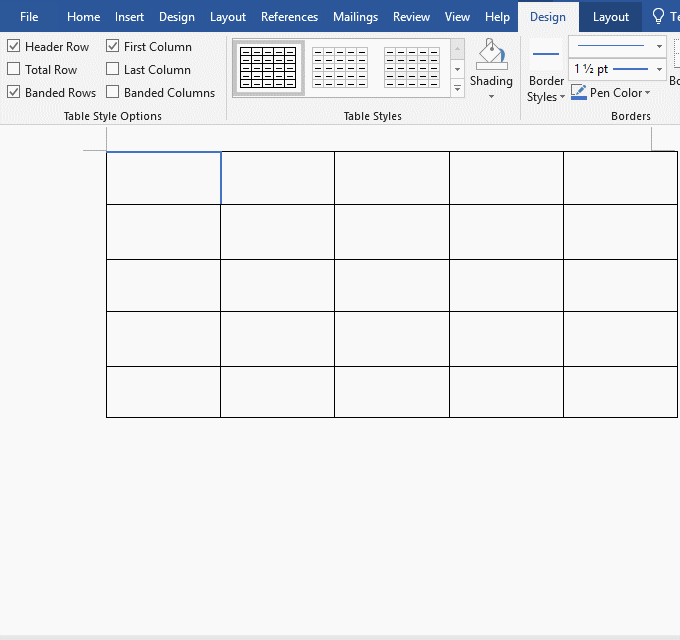
Figure 2
2. Although one is a horizontal line and the other is a vertical line, the style of the two is exactly the same, and the effect is similar to that of the format brush.
(2) Set in the "Borders and Shading" window (Word change color of cell border)
Suppose we want to bold the first cell and set it's borders to red. Select it, select the Home tab, click the Down Arrow next to the Borders icon in the Font group, select Borders and Shading from the pop-up menu, open the Borders and Shading window, and select the Borders tab. Click the Color drop-down list box and select Red from the pop-up menu. Click the Width drop-down list box and select 1 1/2 pt. Click OK to complete the setting. The steps are shown in Figure 3:

Figure 3
The larger the pound size, the thicker the border; The smaller the pound size, the thinner the border.
Tip: Open the Borders and Shading window, or select the Design tab, click the Down Arrow under Borders and select Borders and Shading from the pop-up menu. The steps are shown in Figure 4:
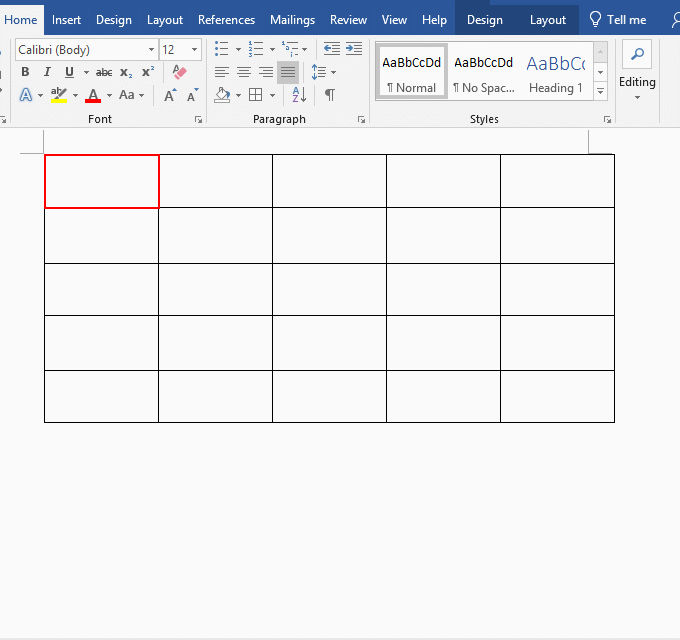
Figure 4
II. Word cell shading settings (How to use shading in Word?)
1. Open the Border and Shading window in the same way, select the Shading tab, click the Fill drop-down list box, select a color arbitrarily, such as Gold Accent 4,Light 60%, click OK, and the steps are shown in Figure 5:
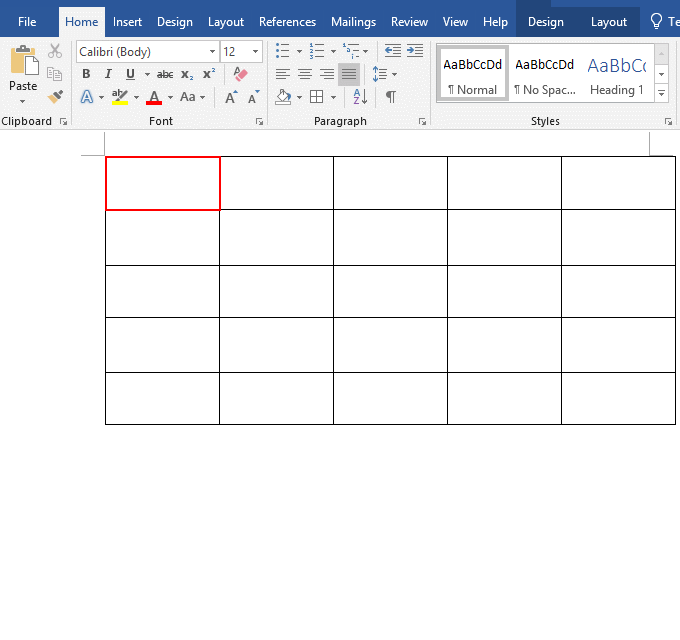
Figure 5
2. However, it should be noted that the cell you want to set should be selected instead of clicking in the cell before setting.
How to remove cell shading in Word?
Select No Color in Figure 5.
III. The bold border of cells is not displayed in Word
1. The page is not 100% displayed. For example, if we bolder a cell but show a thin line, the page will only display 71%, and then adjust it to 100% to see that the cell borders are bold. The demo is shown in Figure 6:
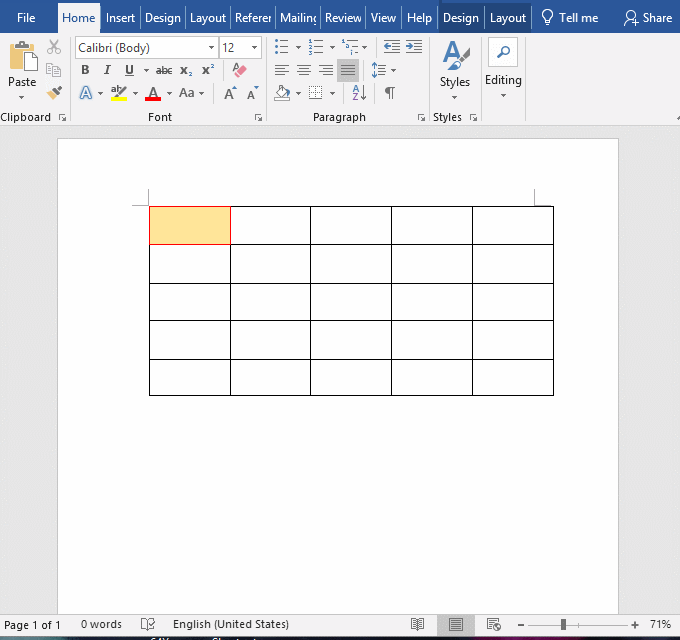
Figure 6
2. The borders are not fully displayed. This is the case when the table is misaligned, and a part of the borders are not fully displayed, just move the table to the editing range of the document and the borders will be fully displayed. The demo is shown in Figure 7:
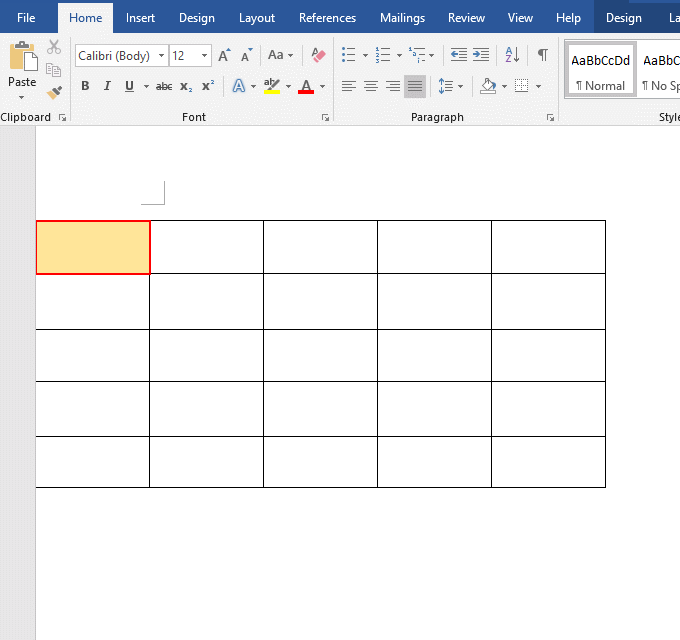
Figure 7
If you can't move the table, you can copy it to another page or another document. You can also try to modify the Text Wrapping of the table, see "Example 1: Can't move table up in word" in the article "How to select, move, copy and remove a table in Word, with it can't be moved".
IV. Word cell borders disappear
This problem occurs in some older versions of Word (such as Word 2007) when merging cells, which is usually caused by the template being corrupted, and this can be solved by removing the template or setting the Special to none.
For details on how to delete a template, please refer to the article "How to turn off Microsoft Word compatibility mode that appears when opening or creating a new document"..
Here's how to set Special to None:
Hover over the table, click the small icon on the top left corner of the table to select the entire table, select the Home tab, click the Diagonal Arrow on the right side of the Paragraph to open the Paragraph window, select the Indents and Spacing tab, click the Special drop-down list box, select (none) in the pop-up options, click OK, and the setting is completed. The steps are shown in Figure 8:
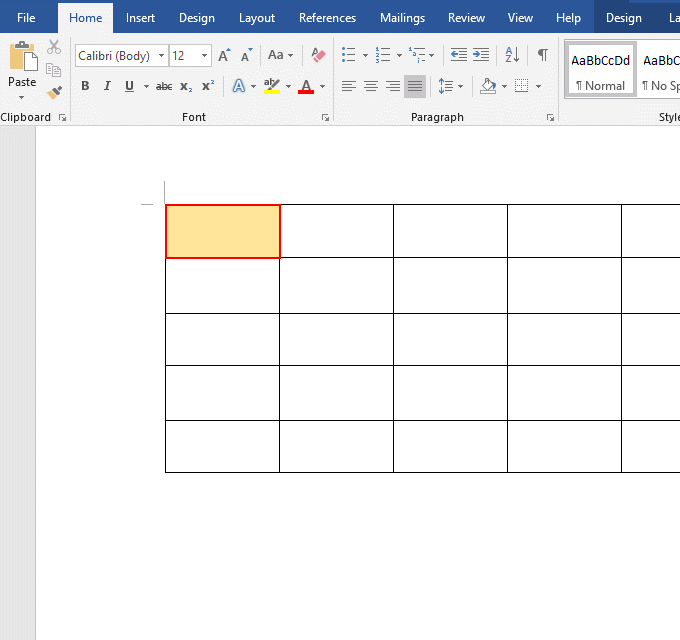
Figure 8
V. How to remove cell borders in Word? (How to delete cell borders in Word?)
Click the cell we want to remove the borders, for example, the first cell, select the Home tab, click the Down Arrow to the right of the Borders icon in the Paragraph group, and then select No Border, then the borders of the selected cell are deleted, the steps are shown in Figure 9:

Figure 9
-
Related Reading
- Css dashed border, with dashed line, long dash borde
- How to delete table lines in Word (one line, remove
- C# hashtable synchronized and SyncRoot(cost comparis
- How to move rows,columns,cells,table in excel(there
- How do I rotate a page 90 degrees in Word, with rota
- How to select, move, copy and remove a table in Word
- How to lock cells in excel, with shortcut, freeze ce
- Input text and Word can't type in table cell, select
- How to align tables in Word, with aligning text and
- C# Hashtable create, add, update, remove and removed
- How to split and merge tables in Word (5 ways), with
- Combine multiple excel sheets into one pivot table w