
Automatic numbering in Word table, with generating a column and row list and custom Number Format
You can also insert automatic numbering in the Microsoft Word table, with a number for each cell. The inserted numbers can be determined according to needs, and it can be inserted by column or row. If you want to generate a row list, you can insert it by row. The inserted numbers cannot be horizontally centered by default, and the Tab Characters after the numbers need to be removed.
The numbering format automatically generated in the table can be customized, for example, you can add numbers or letters before and after the numbers. The punctuation and Tab Characters after the numbers can also be removed. If you want to center the numbers horizontally, you must remove the Tab Characters. Tab Characters are not visible, which will affect the centering of the numbers.
I. Automatic numbering in Word table
1. Select the column where you want to insert the automatic numbering, select the Home tab, click the Down Arrow next to Numbering icon, and select a numbering from the pop-up menu, such as 1., 2., 3.,..., insert a serial number in each row of the selected column. The operation steps are shown in Figure 1:
Figure 1
2. Set the numbering to be vertically centered.
1) Select the column where the numbering is located, select the Layout tab, click the Align Center icon in the Alignment, and all numbers are vertically centered. The operation steps are shown in Figure 2:
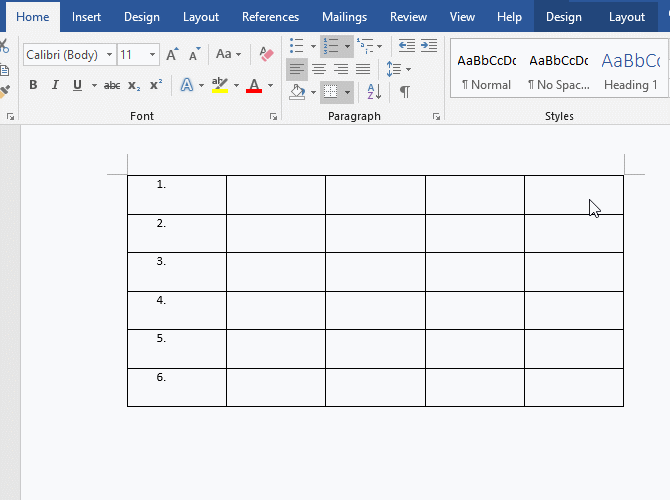
Figure 2
2) All the numbers are vertically centered but not horizontally centered. This is because there is a Tab Character after the numbering, you can center horizontally without it, and all small dots can be removed (see Custom Number Format in Word below for the method): Right-click one of the numbers, select Adjust List Indents in the pop-up menu, open the Adjust List Indents window, change Number position and Text indent to 0.1, click the drop-down list box of Follow number with, and select Nothing in the pop-up options , Click OK, all numbers are horizontally centered. The operation steps are shown in Figure 3:
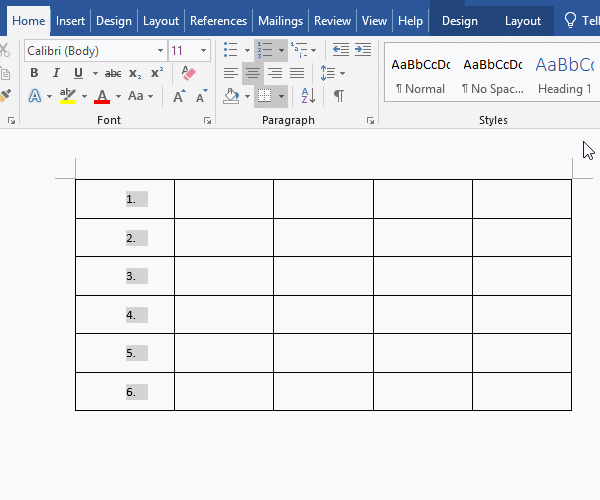
Figure 3
3. Each time a new line is added, the serial number will automatically increase; each time a line is deleted, the serial number will automatically decrease. For example, if one line is added after the last line, the newly added line is automatically increased by 7; when the third line is deleted, the serial number of the last line is also deleted. The demonstration is shown in Figure 4:
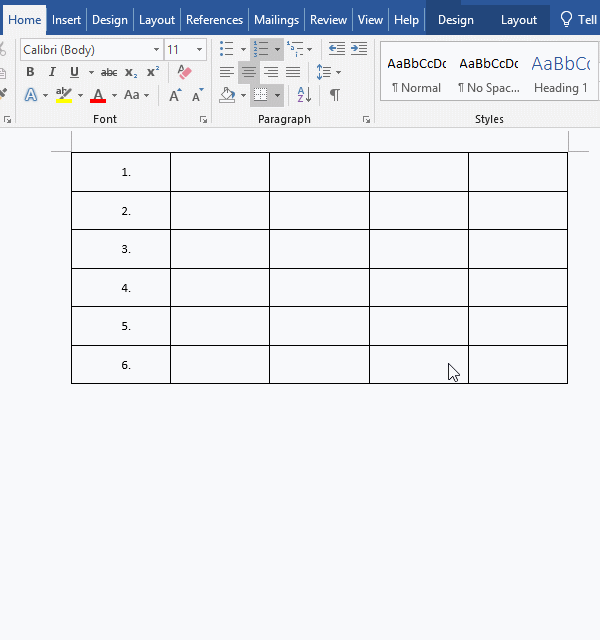
Figure 4
II. Automatic numbering in the Word table to generate a line list
Click the small icon in the upper left corner of the table to select the table, select the Home tab, click the Numbering icon next to Down Arrow, and then select a number from the Numbering Library, such as 1., 2., 3.,..., A horizontal numbered list is generated in the entire table. The operation steps are shown in Figure 5:
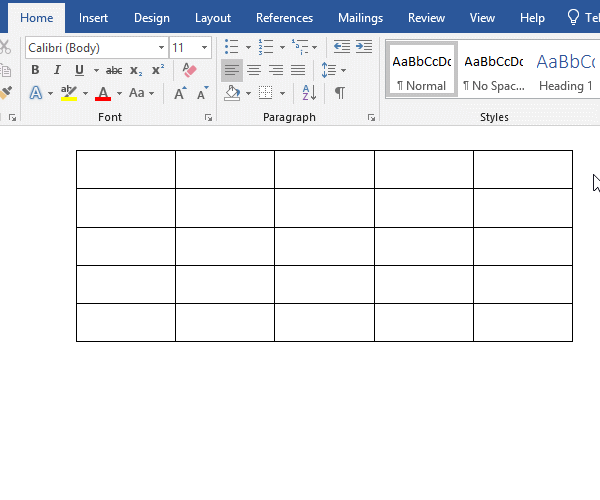
Figure 5
III. Custom Number Format in Word
If you want to add two letters YG before the numbering. Select the numbering you want to add letters to, select the Home tab, click the Down Arrow next to the Numbering, select Define New Number Format in the pop-up menu, and open Define New Number Format Window, change the Number format to YG1, click OK, and YG will be added before all numbers. The operation steps are shown in Figure 6:
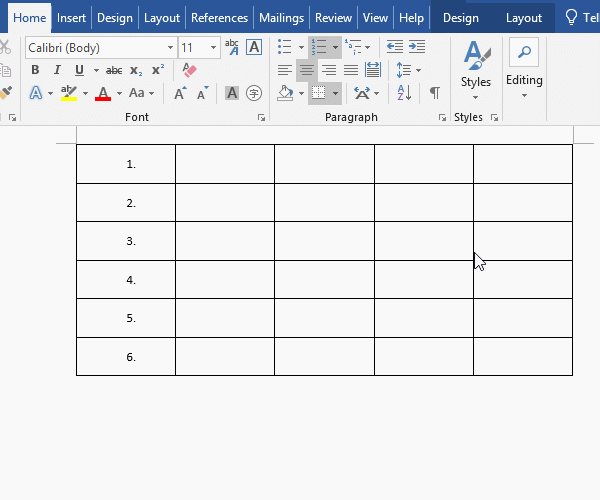
Figure 6
-
Related Reading
- How to delete table lines in Word (one line, remove
- How to add cross symbol and tick mark in Word, with
- How to create and save as a new document in Ms Word,
- How to select multiple photos in Word and why is it
- Find ProPlusww.msi when opening Office(Word/Excel),
- How to set Header and footer in word(13 examples), i
- C# hashtable synchronized and SyncRoot(cost comparis
- How to move rows,columns,cells,table in excel(there
- Word art transform text effect (Follow Path, Warp, A
- How to convert PowerPoint to word(4 examples), inclu
- How do I rotate a page 90 degrees in Word, with rota
- Can't print from microsoft Word (6 possible reasons)