
How to split cells in Word (2 ways), with continuously splitting, exceeding table and becoming messy
There are two ways to split a cell in Word, one is to split with the Split Cells command, and the other is to split with the Draw Table. A cell can be split into two or more than two at a time. You can split only one cell at a time, or split multiple cells. When splitting, you can use F4 on your keyboard to split continuously, that is, after splitting a cell, there is no need to repeat the splitting operation, just press F4 to automatically split.
When splitting a cell, the row of the split cell may exceed the table, the cells become larger and messy, and the color of border of the table changes. Rows and columns have default minimum widths and heights in Word. If the total width of the column after the cells are split is greater than the width of the original cell, after splitting, the width of the split cell and the row where it is located will increase, if the width of the table is too small, it will exceed the table. After splitting a line into several rows, the width becomes larger. But there is another case. If you split a cell into two rows, each row will be a little bit more than half the height of the original cell. If the height remains the same after splitting, you need to set the height of each row to half of the. After splitting the cell, the color of the border changes, which is caused by a problem with Word. You can delete the default template of Word and create a new one.
I. How to split cells in Word (How to unmerge cells in Word)
Method 1: Use the Split Cells command to split
Select the cell you want to split (or position the cursor in the cell you want to split), select the Layout tab, click Split Cells in the Merge group in the Ribbon, and a small dialog box of Split Cells will be popped up, if you want to split a cell into two, just keep the default value, click OK, and the selected cell will be split into two. The operation steps are shown in Figure 1:

Figure 1
How to split multiple cells in Word at the same time
Select the cells you want to split, for example, select the second and third cells in the first row, select the Layout tab, click Split Cells in the Merge group in the Ribbon, and open Split Cells small window, if you want to split them into two, just keep the default value, click OK, then each selected cell will be split into two. The operation steps are shown in Figure 2:
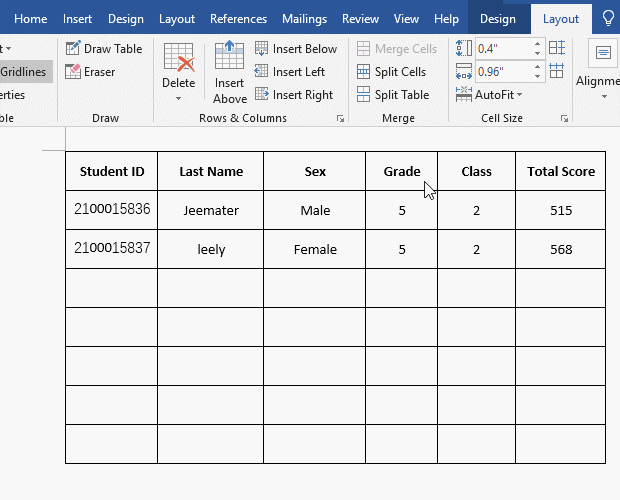
Figure 2
Note: If it becomes messy after splitting, do not check Merge cells before split, because when multiple cells are selected, Word will merge them first and then split them.
Method 2: Split by the Draw Table (How to split a cell diagonally in Word)
Click any cell in the table to display the Layout tab, select it, click Draw Table in the Drawing group, the Pointer becomes a pencil, move it to the upper line of the cell you want to split, for example the top line of the first cell, hold down the left button of mouse and move to the bottom line to draw a dotted line, release the left button of mouse, and one cell will be split into two. If you want to split a cell diagonally, just draw a slash. If you want to split more than one at a time, draw one line at a time to split them. The demonstration is shown in Figure 3:
Figure 3
II. Split cell skills in Word (continuous split)
Position the cursor on the cell you want to split, select the Layout tab, click Split Cells, open the Split Cells small window, click OK, then a cell is split For two. Click the second cell of the first row to position the cursor inside, press F4 on the keyboard, this cell is split into two; select the next two cells, press F4 again, the selected cells are split into two Piece. The demonstration is shown in Figure 4:
Figure 4
III. The problems of Split Cells in Word
1. After splitting the cell, the entire line becomes wider in Word(the cells exceed the original length of the table after splitting)
After splitting a cell into 7 columns and 2 rows, the row where it is located becomes wider and messy, as shown in Figure 5. Each column has a default minimum width in Word. If the total width of 7 columns is greater than the width of the original cell, it will exceed the width of the original cell after splitting, and the cells behind it can only be moved backward, thus causing the result above. If you need to keep the width unchanged after splitting, you need to widen the cell you want to split before splitting, so that the minimum width of all the split columns is greater than or equal to the width of the cell you want to split.
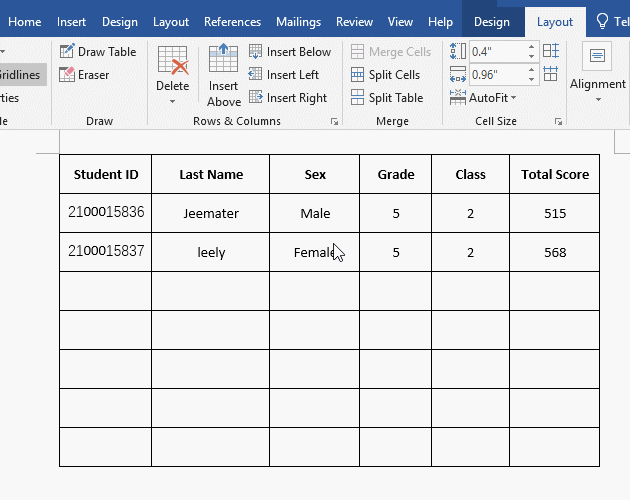
Figure 5
2. The cell will become bigger after splitting the cell in Word
After splitting a cell into 1 column and 2 rows, if the row where it is located becomes 2 times larger than the original. If the height of the cell is required to be unchanged, you need to set the two rows after splitting to half the height of the original cell by right-clicking on the first cell after splitting and selecting Table Properties in the pop-up menu, Open the Table Properties window, select the Row tab, click Next Row twice, the height of row is 0.4", and then click previous Row twice to change the Specify height to 0.2", Row height is select Exactly, and click OK. In the same way, change the other row after splitting to 0.2", then the height of the two rows after splitting will be adjusted to be the same as the original row. The operation steps are shown in Figure 6:
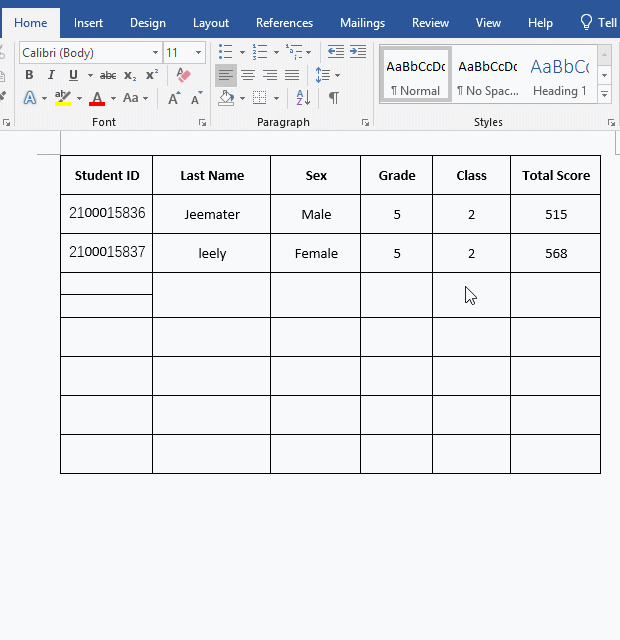
Figure 6
Note: For other problems after splitting cells in Word, please refer to the article "How to merge cells in Word, with merge and center, cannot merge and entire row misses after merging".
-
Related Reading
- How to delete table lines in Word (one line, remove
- C# hashtable synchronized and SyncRoot(cost comparis
- How to move rows,columns,cells,table in excel(there
- How do I rotate a page 90 degrees in Word, with rota
- How to select, move, copy and remove a table in Word
- Input text and Word can't type in table cell, select
- How to align tables in Word, with aligning text and
- C# Hashtable create, add, update, remove and removed
- Combine multiple excel sheets into one pivot table w
- How to create a pivot table in excel(15 examples, wi
- Excel pivot table percentage of grand total(parent r
- How to make a table of contents in word and change,