
Microsoft Word Ribbon (File, Home, Insert, Design, Layout, Format)
There are eleven Ribbons in Microsoft Word, in order: File, Home, Insert, Design, Layout, References, Mailings, Review, View, Format and Developer. They are displayed on the top of Word edit range, and the penultimate Format is usually not displayed, and only automatically displayed when it is used; the last Developer is not displayed by default, and will only be displayed if it is checked, so it is usually not displayed.
The File is different from others in the eleven Microsoft Word Ribbons. It mainly contains basic operations of some documents, such as Info, New, Open, Save, Save As, Print, Share, Export, Options, etc. The other features are mainly used to edit documents.
I. File
1. After opening Microsoft Word, click File, switch to the File, as shown in Figure 1:
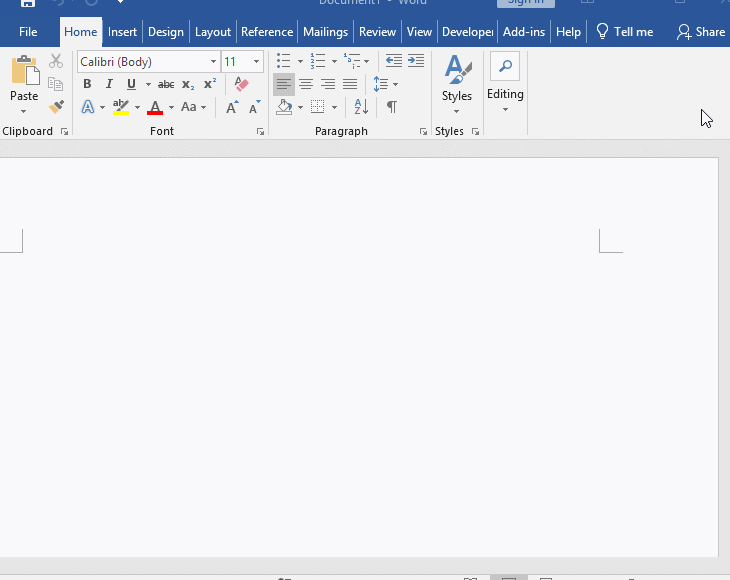
Figure 1
2. The Open is displayed by default, mainly showing recently opened documents; others include: Info, New, Open, Save, Save As, History, Print, Share, Export, Close, Account, Feedback and Options. They will be discussed in subsequent chapters.
3. There is an arrow surrounded by a circle on Info. Click it to return and continue editing the document.
II. Home
1. When you create a new blank document or open a document, displaying the Home tab by default in the Ribbon, as shown in Figure 2:

Figure 2
2. It can be seen from the figure that there are mainly some features for setting text, such as: setting Font, Font Size, Bold, Underline, Color, Background Color, Alignment, Title, etc. there are also some common featrues, such as: Copy, Paste, Find, Replace, etc.
III. Insert
1. Click the Insert tab, as shown in Figure 3:

Figure 3
2. This is mainly used to insert pages, tables, images, shapes, charts, text boxes, videos, music, page number, header, footer, special symbols, wordart, numbers, formulas, fields, SmartArt (process, hierarchy, lists, relationships, matrix, etc.) etc.
IV. Design
1. Click the Design tab, as shown in Figure 4:

Figure 4
2. This is mainly used for page setting. There are many page styles that have been typographically designed. Select a page in the document and select one of the styles, and the style will be applied to the selected page; in addition, there are also setting paragraph spacing, page background (for page Watermark, set color and border) etc.
V. Layout
1. Click the Layout tab, as shown in Figure 5:

Figure 5
2. This is mainly used for page, paragraph and text layout, such as: setting page margins, paper size and direction, column division, text direction, position, wrapping text, rotation, etc.
VI. References
1. Click the References tab, as shown in Figure 6:

Figure 6
2. Here are mainly some features related to references, which are divided into six groups: Table of Contents, Footnotes, Research, Citations & Bibliography, Captions, index and Table of Authorities.
VII. Mailing
1. Click the Mailing tab, as shown in Figure 7:

Figure 7
2. This is mainly used for making envelopes and editing emails. It can be divided into five groups: Create, Start Mail Merge, Write and Insert Fields, Preview Results and Finish.
VIII. Review
1. Click the Review tab, as shown in Figure 8:

Figure 8
2. This Ribbon is mainly used for document review, and contains multiple groups, including Proofing, Speech, Accssibility, Language, Comments, Tracking, Changes, Compare, Protect and lnk.
IX. View
1. Click the View tab, as shown in Figure 9:

Figure 9
2. The View provides five ways to display documents, in addition to setting the ruler, gridlines and navigation pane whether to display, zoom documents, window arrangement and switching and macros.
X. Format
1. The Format is usually not displayed, and only displayed when related operations are involved. For example, insert a shape, it will be automatically displayed immediately, as shown in Figure 10:
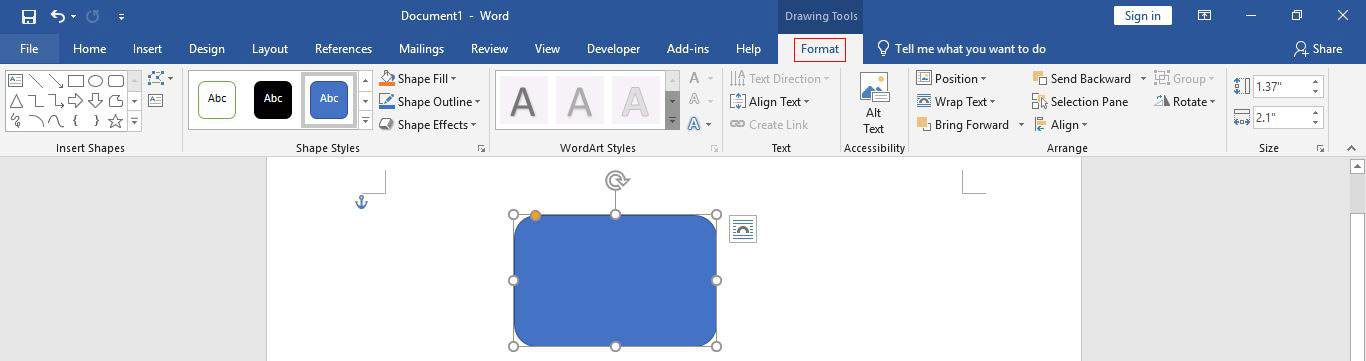
Figure 10
2. The features here is actually a combination of the features of the previous Ribbons, which can be divided into six groups, namely: Insert shapes, Shape styles, WortArt styles, Text, Accssibility, Arrange and Size.
XI. Developer
1. The Developer is not displayed by default. Only when you open the Word Options window and select Customize Ribbon, it will be displayed if you check it. It contains are shown in Figure 11:

Figure 11
2. There are six groups in the Developer, namely: Code, Add-ins, Controls, Mapping, Protect and Templates.
The above eleven Microsoft Word Ribbons are just a brief preview, and they will be introduced in detail when they are used in subsequent chapters.
-
Related Reading
- How to delete table lines in Word (one line, remove
- How to add cross symbol and tick mark in Word, with
- Find ProPlusww.msi when opening Office(Word/Excel),
- How to set Header and footer in word(13 examples), i
- Word art transform text effect (Follow Path, Warp, A
- How to convert PowerPoint to word(4 examples), inclu
- How do I rotate a page 90 degrees in Word, with rota
- Can't print from microsoft Word (6 possible reasons)
- How to set default Printer in Microsoft Word when se
- How to fix Microsoft Word has stopped working (sever
- How to align, rotate and lock Text Box position in W
- Word temporary files location (Msocache folder takes